How Do I Slow Cook a Turkey
Slow cooking a turkey offers an incredibly convenient and delicious way to prepare your holiday bird. This method ensures exceptionally juicy, tender meat by cooking it low and slow, freeing up your oven and reducing stress. You’ll learn everything from proper preparation to achieving that perfect finish, making your turkey a memorable centerpiece. This guide helps you confidently slow cook a turkey that impresses everyone at the table.
How Do I Slow Cook a Turkey
Welcome to the ultimate guide on how to slow cook a turkey! If you’ve ever dreamed of a Thanksgiving or holiday meal where your turkey is unbelievably juicy, the meat practically falls off the bone, and your main oven is free for all those delicious sides, then you’re in the right place. Slow cooking a turkey is a game-changer, offering a convenient, stress-free, and incredibly delicious way to prepare your festive bird.
Traditional oven roasting can sometimes lead to dry turkey, especially the breast meat, and it often monopolizes your oven for hours. Learning how to slow cook a turkey eliminates these worries. By cooking low and slow, the turkey meat retains its moisture, resulting in a tender, flavorful bird every single time. This guide will walk you through every step, from choosing the right turkey to achieving that perfect, crispy skin, ensuring your slow-cooked turkey is the star of your holiday table. Let’s get started on making your turkey dinner unforgettable!
Key Takeaways
- Embrace Juiciness: Slow cooking excels at keeping turkey meat incredibly moist and tender, preventing the dry, often overcooked results common with traditional roasting.
- Free Your Oven: One of the biggest advantages of learning how to slow cook a turkey is that it liberates your main oven, allowing you to use it for sides, pies, or other dishes.
- Preparation is Paramount: Proper thawing, brining (or dry brining), and seasoning are crucial steps that lay the foundation for a flavorful and moist slow-cooked turkey.
- Temperature is Non-Negotiable: Always use a reliable meat thermometer to ensure your turkey reaches a safe internal temperature of 165°F (74°C) in the thickest part of the thigh, without touching bone.
- Crispy Skin Requires Extra Steps: Slow cooking generally results in soft skin. To achieve a golden, crispy finish, a quick stint in a hot oven or under the broiler *after* slow cooking is essential.
- Resting is Crucial: Allow your slow-cooked turkey to rest for at least 20-30 minutes after cooking. This allows the juices to redistribute, resulting in an even more succulent bird.
- Size Matters for Slow Cookers: For the best results, opt for smaller turkeys, typically 10-14 pounds, to ensure they fit properly and cook evenly in standard slow cookers or roaster ovens.
Choosing Your Turkey for Slow Cooking
The journey to a perfect slow-cooked turkey begins with selecting the right bird. Not all turkeys are created equal when it comes to slow cooking.
Size Matters for Slow Cookers
For optimal results and to ensure it fits in your slow cooker or electric roaster oven, aim for a smaller turkey. A turkey between 10 to 14 pounds is ideal. Anything much larger might not fit, or it could cook unevenly. If you have a very large crowd, consider cooking two smaller turkeys or a turkey breast alongside a whole bird. This ensures everything cooks thoroughly and stays moist.
Fresh vs. Frozen
You can use either a fresh or a frozen turkey, but remember that a frozen turkey will require significant thawing time. Fresh turkeys offer a bit more convenience as they skip the thawing step. If you opt for fresh, ensure it’s truly fresh and hasn’t been previously frozen.
Type of Turkey
Most standard turkeys from the grocery store will work wonderfully. Consider a heritage turkey if you’re looking for richer flavor, but be aware they can be pricier and may have a slightly different texture. The key is simply finding a turkey that fits your cooking vessel.
Gather Your Essential Equipment
Before you dive into prepping, make sure you have all the necessary tools at hand. Having everything ready makes the process of how to slow cook a turkey much smoother.
Slow Cooker or Electric Roaster Oven
This is, of course, the star of the show.
- Slow Cooker: A large, oval-shaped slow cooker (at least 6-8 quarts, preferably larger) is necessary for a whole turkey. Make sure the turkey you choose can fit comfortably with the lid closed.
- Electric Roaster Oven: These are excellent alternatives, often designed specifically for cooking larger birds. They function similarly to a slow cooker but usually have more space. Many people find them easier for bigger turkeys.
Reliable Meat Thermometer
An absolute must-have! You’ll need an accurate meat thermometer (instant-read is best) to check the internal temperature of your turkey. This is the only way to ensure your turkey is safely cooked and perfectly done, not over or undercooked.
Brining Bag or Large Container (Optional but Recommended)
If you plan to brine your turkey, you’ll need a brining bag large enough to hold the turkey and brine, or a very large food-safe container.
Roasting Rack or Vegetables
You’ll want to lift the turkey slightly off the bottom of your slow cooker. A small roasting rack designed for slow cookers or a bed of sturdy vegetables (like carrots, celery, and onions) works perfectly. This prevents the bottom of the turkey from sitting in liquid and becoming soggy.
Foil or Parchment Paper
You’ll need these later if you plan to crisp up the skin in a conventional oven.
Step 1: Thaw Your Turkey (If Frozen)
If you bought a frozen turkey, proper thawing is the first and most critical step before you can even think about how to slow cook a turkey. Never thaw at room temperature, as this can lead to bacterial growth.
Refrigerator Method (Recommended)
This is the safest and easiest method, but it requires significant planning.
- Time: Allow approximately 24 hours of thawing time for every 4-5 pounds of turkey.
- Placement: Place the turkey (still in its original packaging) on a rimmed baking sheet or in a large pan to catch any drips.
- Location: Thaw in the refrigerator, usually on the bottom shelf to prevent cross-contamination.
- Example: A 12-pound turkey will need about 3 days to fully thaw in the fridge.
Cold Water Method (Faster, but Requires Attention)
If you’re short on time, this method works, but you must be diligent.
- Packaging: Ensure the turkey is in a leak-proof plastic bag. If the original packaging isn’t secure, place it in another heavy-duty bag.
- Submersion: Submerge the turkey in cold tap water.
- Water Change: Change the water every 30 minutes to keep it cold and prevent bacterial growth.
- Time: Allow about 30 minutes of thawing time per pound of turkey.
- Example: A 12-pound turkey would take about 6 hours using this method.
- Cook Immediately: Turkeys thawed this way should be cooked immediately after thawing.
Step 2: Brine or Season Your Turkey for Maximum Flavor and Moisture
This step is optional but highly recommended. Brining or thoroughly seasoning your turkey will dramatically improve its flavor and moisture content, making your slow-cooked turkey truly exceptional.
Why Brine?
Brining infuses moisture and flavor deep into the turkey meat, helping it stay juicy even through long cooking times. It’s a fantastic way to prevent dryness.
Basic Wet Brine Recipe
- Ingredients: 1 gallon of water, 1 cup kosher salt, 1/2 cup granulated sugar (optional, for browning), 2 bay leaves, 1 tablespoon black peppercorns, aromatics like orange peels, sliced onions, or fresh herbs (rosemary, thyme, sage).
- Instructions: Bring about 2 cups of the water to a boil with salt, sugar, and spices until dissolved. Remove from heat and add the remaining cold water and aromatics. Let the brine cool completely before using.
- Brining: Place the thawed turkey (giblets and neck removed) in a large brining bag or container. Pour the cooled brine over the turkey, ensuring it’s fully submerged. If needed, add more cold water.
- Time: Brine in the refrigerator for 8-12 hours (or up to 24 hours for larger birds).
- Rinsing: After brining, remove the turkey from the brine and rinse it thoroughly under cold running water, both inside and out, to remove excess salt. Pat it very dry with paper towels.
Dry Brining (A Simpler Alternative)
Dry brining is an easier method that still yields fantastic results.
- Ingredients: 1 tablespoon of kosher salt per 4-5 pounds of turkey, plus any desired herbs and spices (e.g., black pepper, garlic powder, paprika, dried rosemary).
- Instructions: Pat the turkey very dry. Liberally rub the salt and spice mixture all over the turkey, including under the skin.
- Time: Place the turkey on a rack in a roasting pan (uncovered) in the refrigerator for 1-3 days. The salt will draw out moisture, then reabsorb it, seasoning the meat deeply.
Basic Seasoning (If Not Brining)
If you skip brining, still season generously.
- Prep: Pat the turkey very dry inside and out.
- Fat: Rub the turkey all over with softened butter, olive oil, or a mix of both. This helps the seasonings stick and contributes to flavor.
- Seasoning: Sprinkle generously with salt, black pepper, garlic powder, onion powder, paprika, dried sage, thyme, and rosemary. Don’t forget to season the cavity too.
- Aromatics for Cavity: Place halved onions, lemon wedges, garlic cloves, and fresh herb sprigs (rosemary, thyme, sage) into the turkey cavity. These will infuse flavor during cooking.
Step 3: Prepare Your Slow Cooker or Roaster Oven
Setting up your cooking vessel properly is key to a perfectly cooked slow-cooked turkey.
Create a Bed of Aromatics
Chop up some hearty vegetables like onions, carrots, and celery into large chunks. Spread them evenly on the bottom of your slow cooker or roaster oven. These vegetables will lift the turkey, preventing it from sticking and adding incredible flavor to the drippings. You can also add some fresh herb sprigs (rosemary, thyme, sage) directly to this bed.
Add Liquid
Pour 1-2 cups of chicken or vegetable broth (or even a dry white wine) into the bottom of the slow cooker, over the vegetables. This liquid helps create a moist environment, contributes to flavor, and prevents anything from drying out too quickly. It will also form the base for your delicious gravy later!
Step 4: Place the Turkey in the Slow Cooker
Careful placement ensures even cooking and juicy results.
Breast Side Down Initially (Recommended)
For the juiciest breast meat, start by placing the turkey breast side down. This allows the juices to collect in the breast as it cooks. You’ll flip it later if you want to crisp the skin. If your slow cooker is too small to flip, or you prefer not to, breast side up is also fine, but you might want to baste the breast periodically.
Ensure a Snug Fit (But Not Too Snug)
The turkey should fit comfortably inside your slow cooker or roaster oven with the lid on securely. If it’s too large, you might need to try a different cooking method or consider cutting the turkey into pieces (e.g., slow cook the legs and thighs, and roast the breast separately). Do not force the lid on, as this can affect cooking time and safety.
Step 5: Set the Temperature and Cook Your Turkey
This is where the magic of “low and slow” really comes into play. Cooking your turkey gently ensures tender, moist meat.
Low and Slow is the Way to Go
For best results, cook on the LOW setting for most slow cookers. The exact temperature can vary between models, but “LOW” typically means around 200-225°F (93-107°C). Cooking on HIGH (around 250-300°F / 121-149°C) is faster but increases the risk of drying out the turkey.
If using an electric roaster oven, set it to around 250-300°F (121-149°C). These ovens typically cook a bit hotter than traditional slow cookers.
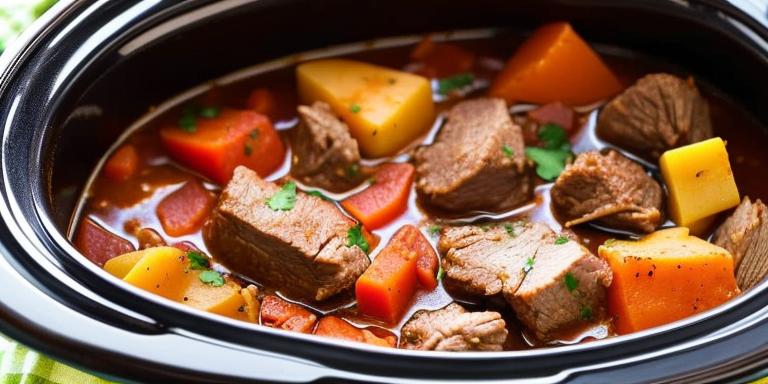
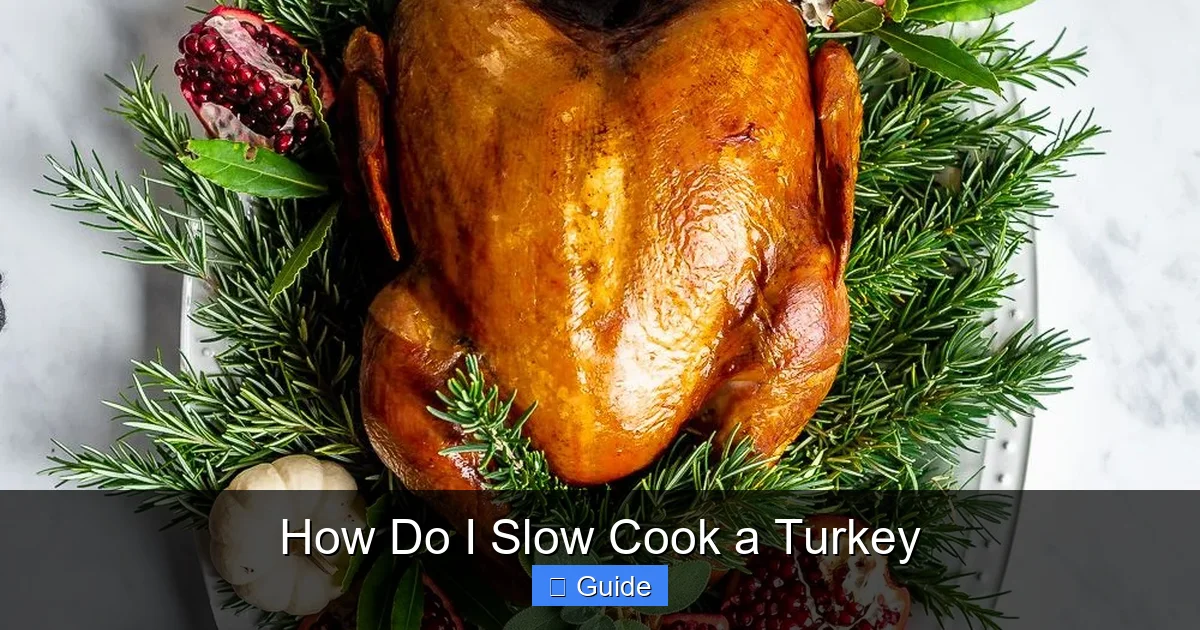
Visual guide about how to slow cook turkey
Image source: favfamilyrecipes.com
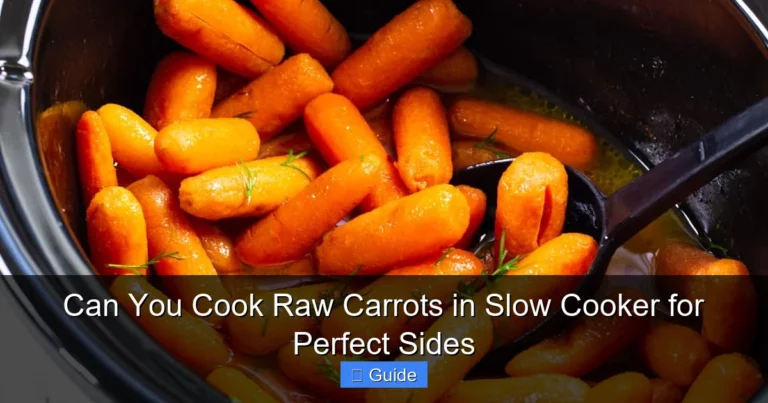
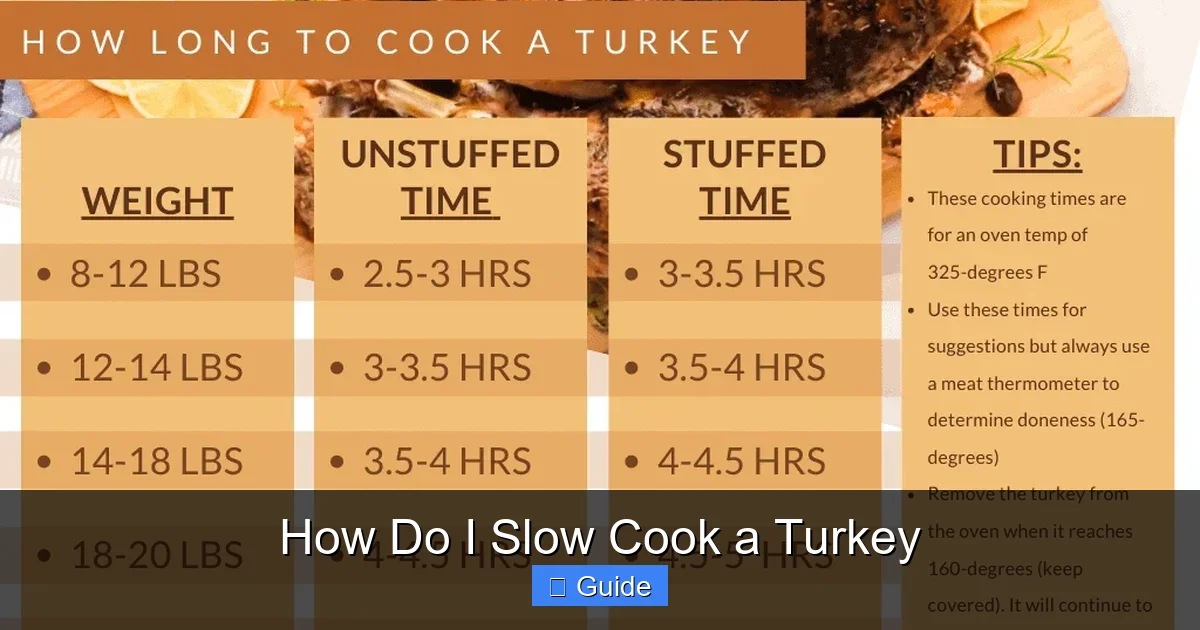
Visual guide about how to slow cook turkey
Image source: storables.com
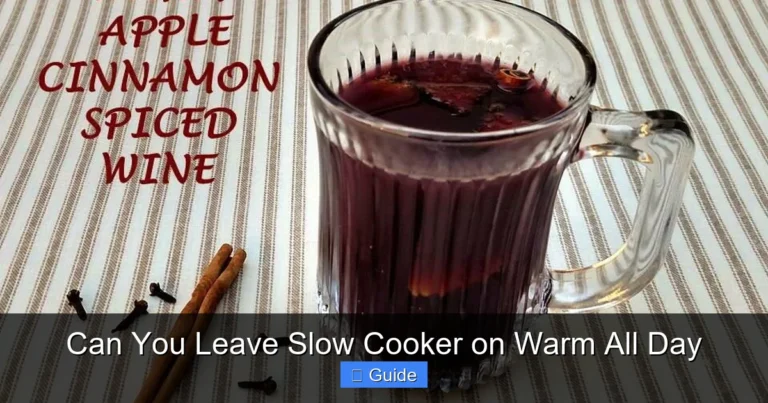
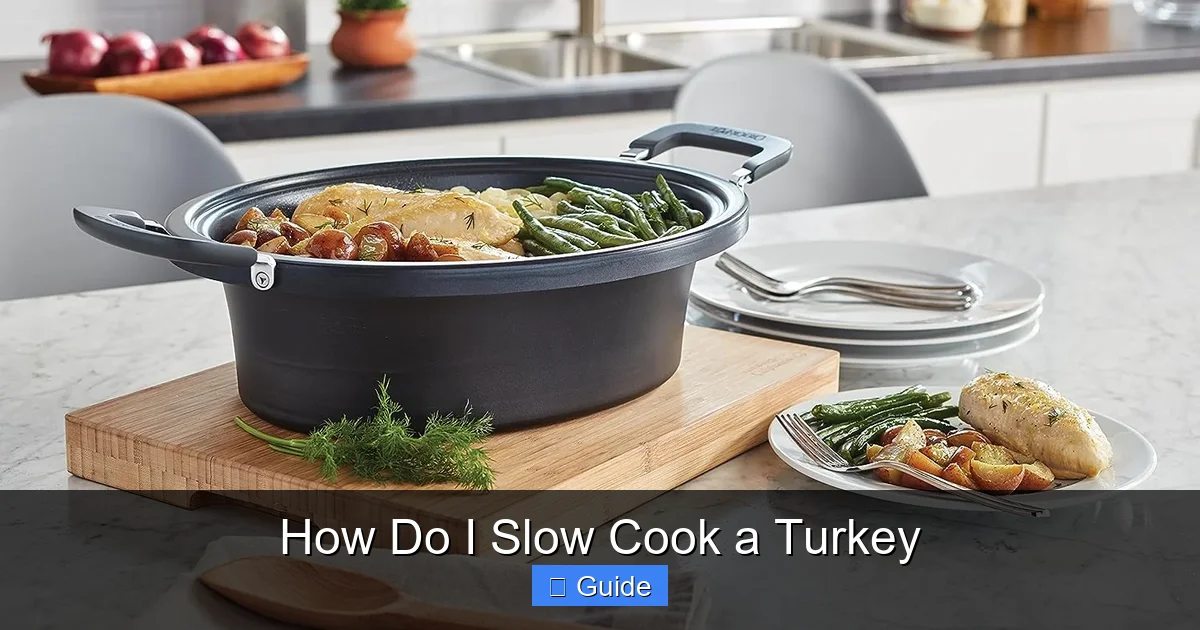
Visual guide about how to slow cook turkey
Image source: onesweetappetite.com
Approximate Cooking Times
Cooking times for a slow-cooked turkey can vary based on your specific appliance, the turkey’s initial temperature, and its exact weight. These are general guidelines:
- On LOW: Allow approximately 6-8 hours for a 10-12 pound turkey. A 12-14 pound turkey might take 8-10 hours.
- On HIGH: If you must use HIGH, reduce the time significantly; a 10-12 pound turkey might be done in 4-6 hours. Be extra vigilant with monitoring the temperature.
Remember, these are estimates. The only way to truly know when your slow cook a turkey is done is by checking its internal temperature.
Monitoring for Doneness
- Don’t Lift the Lid Often: Resist the urge to peek! Every time you lift the lid, heat escapes, and you add about 30 minutes to the cooking time.
- Internal Temperature: Begin checking the internal temperature after about 4-5 hours (for low settings). Insert your meat thermometer into the thickest part of the thigh, without touching the bone. The turkey is safely cooked when it reaches 165°F (74°C). Also, check the thickest part of the breast and the wing.
- Continue Cooking: If it hasn’t reached 165°F, replace the lid and continue cooking, checking every 30-60 minutes.
Step 6: Achieving Crispy Skin (The Slow Cooker Challenge)
One downside of how to slow cook a turkey is that the skin, due to the moist cooking environment, tends to be soft, not crispy. But don’t worry, there’s a simple fix!
Transfer to a Hot Oven
Once your turkey reaches 165°F (74°C) internally, carefully remove it from the slow cooker and transfer it to a large roasting pan or baking sheet.
- Prep for Crisp: Pat the skin very dry with paper towels. You can brush it lightly with melted butter or olive oil for extra crispiness and browning.
- High Heat Bake: Place the turkey in a preheated oven at 400-425°F (200-220°C) for 15-30 minutes, or until the skin is beautifully golden brown and crispy to your liking. Watch it carefully to prevent burning.
Broiler Method (Faster, More Vigilant)
If you have a broiler, you can use it for a quicker crisp.
- Prep: As above, pat dry and brush with fat.
- Broil: Place the turkey under a hot broiler for 5-10 minutes. Keep a very close eye on it, turning the pan as needed, as the skin can go from golden to burnt very quickly.
This step is critical for anyone wanting that classic, appealing turkey skin.
Step 7: Rest Your Turkey
This step is non-negotiable for a truly juicy slow-cooked turkey. Don’t skip it!
Why Resting is Crucial
When meat cooks, the juices migrate to the center. Resting allows these juices to redistribute throughout the entire turkey. If you carve immediately, all those delicious juices will run out onto your cutting board, leaving you with drier meat.
How Long to Rest
Tent the turkey loosely with foil (don’t wrap tightly, or the skin will soften again) and let it rest on a cutting board for at least 20-30 minutes. For larger birds, 30-45 minutes is even better.
Step 8: Carve and Serve Your Masterpiece
After all your hard work to slow cook a turkey, it’s time for the delicious payoff.
Basic Carving Tips
- Tools: Use a sharp carving knife and a carving fork.
- Legs and Thighs: Separate the legs and thighs from the body first. You can then separate the drumstick from the thigh.
- Breast Meat: Slice the breast meat against the grain, starting from the top of the breastbone.
- Wings: Remove the wings at the joint.
Make Gravy from Drippings
While the turkey is resting, you can make a fantastic gravy. Carefully pour the drippings from your slow cooker into a fat separator. Separate the fat, then use the flavorful broth with a roux (butter and flour) to create a rich, delicious gravy to accompany your slow-cooked turkey.
Practical Tips for Slow Cooking a Turkey
Here are some extra nuggets of wisdom to help you master how to slow cook a turkey.
- Don’t Overstuff the Cavity: If you’re adding aromatics to the cavity, don’t pack them too tightly. Air circulation is important for even cooking.
- Consider a Turkey Breast: If a whole turkey feels too daunting or is too large for your slow cooker, a bone-in turkey breast is an excellent alternative. It cooks faster and is easier to handle.
- Basting is Optional: Because slow cooking is such a moist environment, basting isn’t as critical as with traditional roasting. However, a quick basting every few hours won’t hurt, especially if your slow cooker allows for easy access. Remember, opening the lid extends cooking time.
- Use a Liner: For easy cleanup, consider using a slow cooker liner. Just be careful when removing it with the hot turkey.
- Plan for Gravy: The drippings from a slow-cooked turkey are gold! Don’t discard them. They make an incredibly flavorful gravy.
Troubleshooting Common Slow Cooked Turkey Issues
Even with the best intentions, things can sometimes go awry. Here’s how to handle common problems when you slow cook a turkey.
Issue: Dry Turkey
- Cause: Most likely overcooked or wasn’t brined/seasoned adequately.
- Solution: Next time, always use a meat thermometer and pull the turkey exactly at 165°F (74°C). Brining is your best defense against dryness. For the current turkey, slice thinly and serve with plenty of gravy or broth to re-moisten.
Issue: Rubber or Pale Skin
- Cause: This is typical for slow cooking without a finishing step.
- Solution: As detailed in Step 6, a quick blast in a hot oven or under the broiler is essential for crispy, golden skin. Make sure the skin is patted very dry before this step and brushed with fat.
Issue: Turkey Undercooked
- Cause: Not enough cooking time, lid lifted too often, or turkey was too large for the slow cooker.
- Solution: If you check the temperature and it’s not at 165°F (74°C), simply put the lid back on and continue cooking. If it’s still significantly undercooked after many hours, you might need to transfer it to a conventional oven to finish cooking at a higher temperature (e.g., 325-350°F / 160-175°C) until it reaches the safe internal temperature.
Issue: Turkey Doesn’t Fit in the Slow Cooker
- Cause: You chose a turkey that was too large for your appliance.
- Solution: For next time, buy a smaller turkey or invest in a larger roaster oven. For the current turkey, you can sometimes cut the turkey in half or quarters to make it fit. Or, separate the legs/thighs and breast and cook them in separate batches or separate slow cookers.
Issue: Not Enough Drippings for Gravy
- Cause: Some slow cookers seal very tightly, and less liquid evaporates.
- Solution: While the turkey is cooking, you can add an extra cup of broth to the bottom of the slow cooker if you anticipate needing more drippings. You can also supplement your drippings with store-bought turkey or chicken broth when making gravy.
Conclusion
Congratulations! You now have a comprehensive guide on how to slow cook a turkey, turning what can be a stressful cooking endeavor into an easy, rewarding experience. By following these steps, you’ll consistently achieve a turkey that is incredibly moist, tender, and full of flavor.
Remember the key takeaways: choose the right size turkey, prioritize brining or thorough seasoning, always use a meat thermometer, and don’t forget that crucial step to crisp up the skin. With your oven free and your kitchen smelling amazing, you can relax and enjoy the rest of your holiday preparations. Your slow-cooked turkey will not only impress your guests but will also become a cherished part of your holiday traditions. Happy cooking!

Jennifer D. Simon has spent the last 26 years studying and practicing nutrition science. She has used a larger part of this time in improving people’s livelihoods. She has done so by coming up with unquestionable ideas on how to tackle food problems in her community. Read More